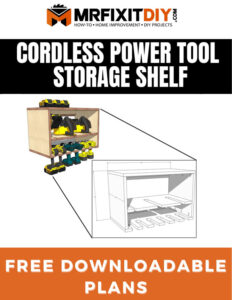
I recently partnered up with The Home Depot through their Prospective program to review some of the new 20v MAX with Flexvolt Advantage tools. I’ll never say no to tools, but it’s abundantly clear that I needed a better way to store them so this week I decided to build myself a simple cordless power tool storage shelf for the workshop.
Download the Free Plans Here to Follow Along
 This project contains affiliate links to the The Home Depot who generously supplied some of the tool(s) I’ll be utilizing in this project. All opinions are herein are my own. Visit my disclosure page for more information on affiliate and compensation this site accepts.
Tool List:
- DeWalt 20v MAX 7 1/4″ Circular Saw with FLEXVOLT ADVANTAGE
- Table Saw or track saw (Optional)
- DeWalt 20v MAX Drill/ Driver Combo
- Jigsaw
- Palm Router and 1/4″ round over bit
- Trigger clamps (x2)
- Level / straight edge
- Tape Measure
- 16 or 18 ga. Brad Nailer & 1 1/2″ brad nails (Optional)
- Kreg Pocket hole jig (Optional)
Material List:
- 4′ x 4′ – 3/4″ plywood
- Titebond II Wood Glue
- 1 1/2″ wood screws, brad nails, or pocket hole screws
Getting Started
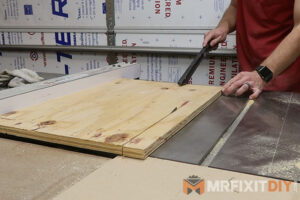 The first thing you’ll need to do is break down the plywood. There are a lot of different ways to do this. If you have a table saw, you can use that to cut the piece of plywood into the 14″ strips. You can also use a straight edge or a level and a circular saw or a combination. Follow the cut diagram in the plans to cut the pieces as shown.
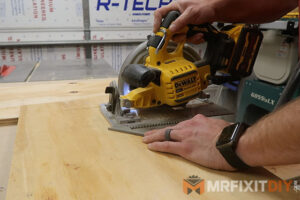 Using a combination of the circular saw and a jigsaw, cut the kerf cuts for the drill/ driver locations into the bottom shelf piece and the saw kerf cuts for the middle shelf piece as shown in the plans.
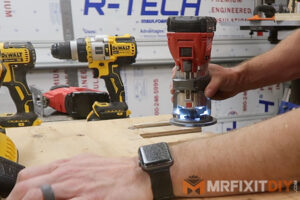 Use a 1/4″ round over bit and a palm router to round over the cut outs for the saw and drill locations if you choose to.
Making a French Cleat
 A french cleat is a popular way of hanging shelves/ cabinetry because it gives you some flexibility in being able to easily remove the shelf or cabinet. It involves creating 2 strips of wood mitered at 45° that interlock in place. One piece goes on the wall with the mitered edge facing up and towards the wall. The other piece is mounted to the shelf or cabinet with the mitered edge facing down and in. The shelf can then be easily lifted and set on the cleat giving it plenty of strength, and easily moved by lifting up on the shelf and removing it.
Assembling the Shelf
If you have a Kreg K4 jig, drill pocket holes into the side pieces at the top and bottom so that you can mount them to the top and bottom of the shelf. Also drill holes on the underside of the middle shelf on each end to secure it in place as well.
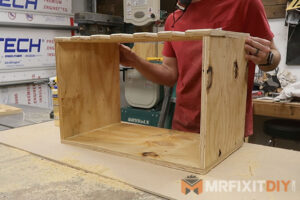 If you don’t have a pocket hole jig, you’ll just assemble the shelf with screws or brad nails as you choose. Apply a liberal amount of wood glue to one end of each of the side pieces and secure them to the bottom piece with screws. Depending on the screws you’re using, you made need to pre-drill to keep the plywood from splitting. Apply wood glue to the top of the side pieces and set the top shelf in place. Secure it with screws or brad nails.
Measure 9″ from the top of the side pieces on each side. This mark will be the top of the middle shelf. Apply some wood glue to the ends of the shelf and secure it in place with screws or brad nails.
 Attach one of the french cleat pieces inside the back of the cabinet at the top. Make sure the miter is facing towards the front and down. Attach the opposite piece to the wall where you’d like to hang the cabinet. Make sure that piece has the miter facing up and towards the wall. Lift the cabinet and set it in place on the cleat.
 Load the shelf up with your favorite cordless power tools and you’re good to go! Thanks for following along with this simple shop organization project.
If you liked this project check out some of my other Free plans at the links below!
https://mrfixitdiy.com/product/free-diy-workshop-cabinet-plans/
")


 Contractor at Age 40!")
")